How Basics Of Quilting can Save You Time, Stress, and Money.
Wiki Article
The Single Strategy To Use For Basics Of Quilting
Table of ContentsBasics Of Quilting Can Be Fun For EveryoneUnknown Facts About Basics Of QuiltingThe 20-Second Trick For Basics Of QuiltingThe 7-Second Trick For Basics Of QuiltingHow Basics Of Quilting can Save You Time, Stress, and Money.
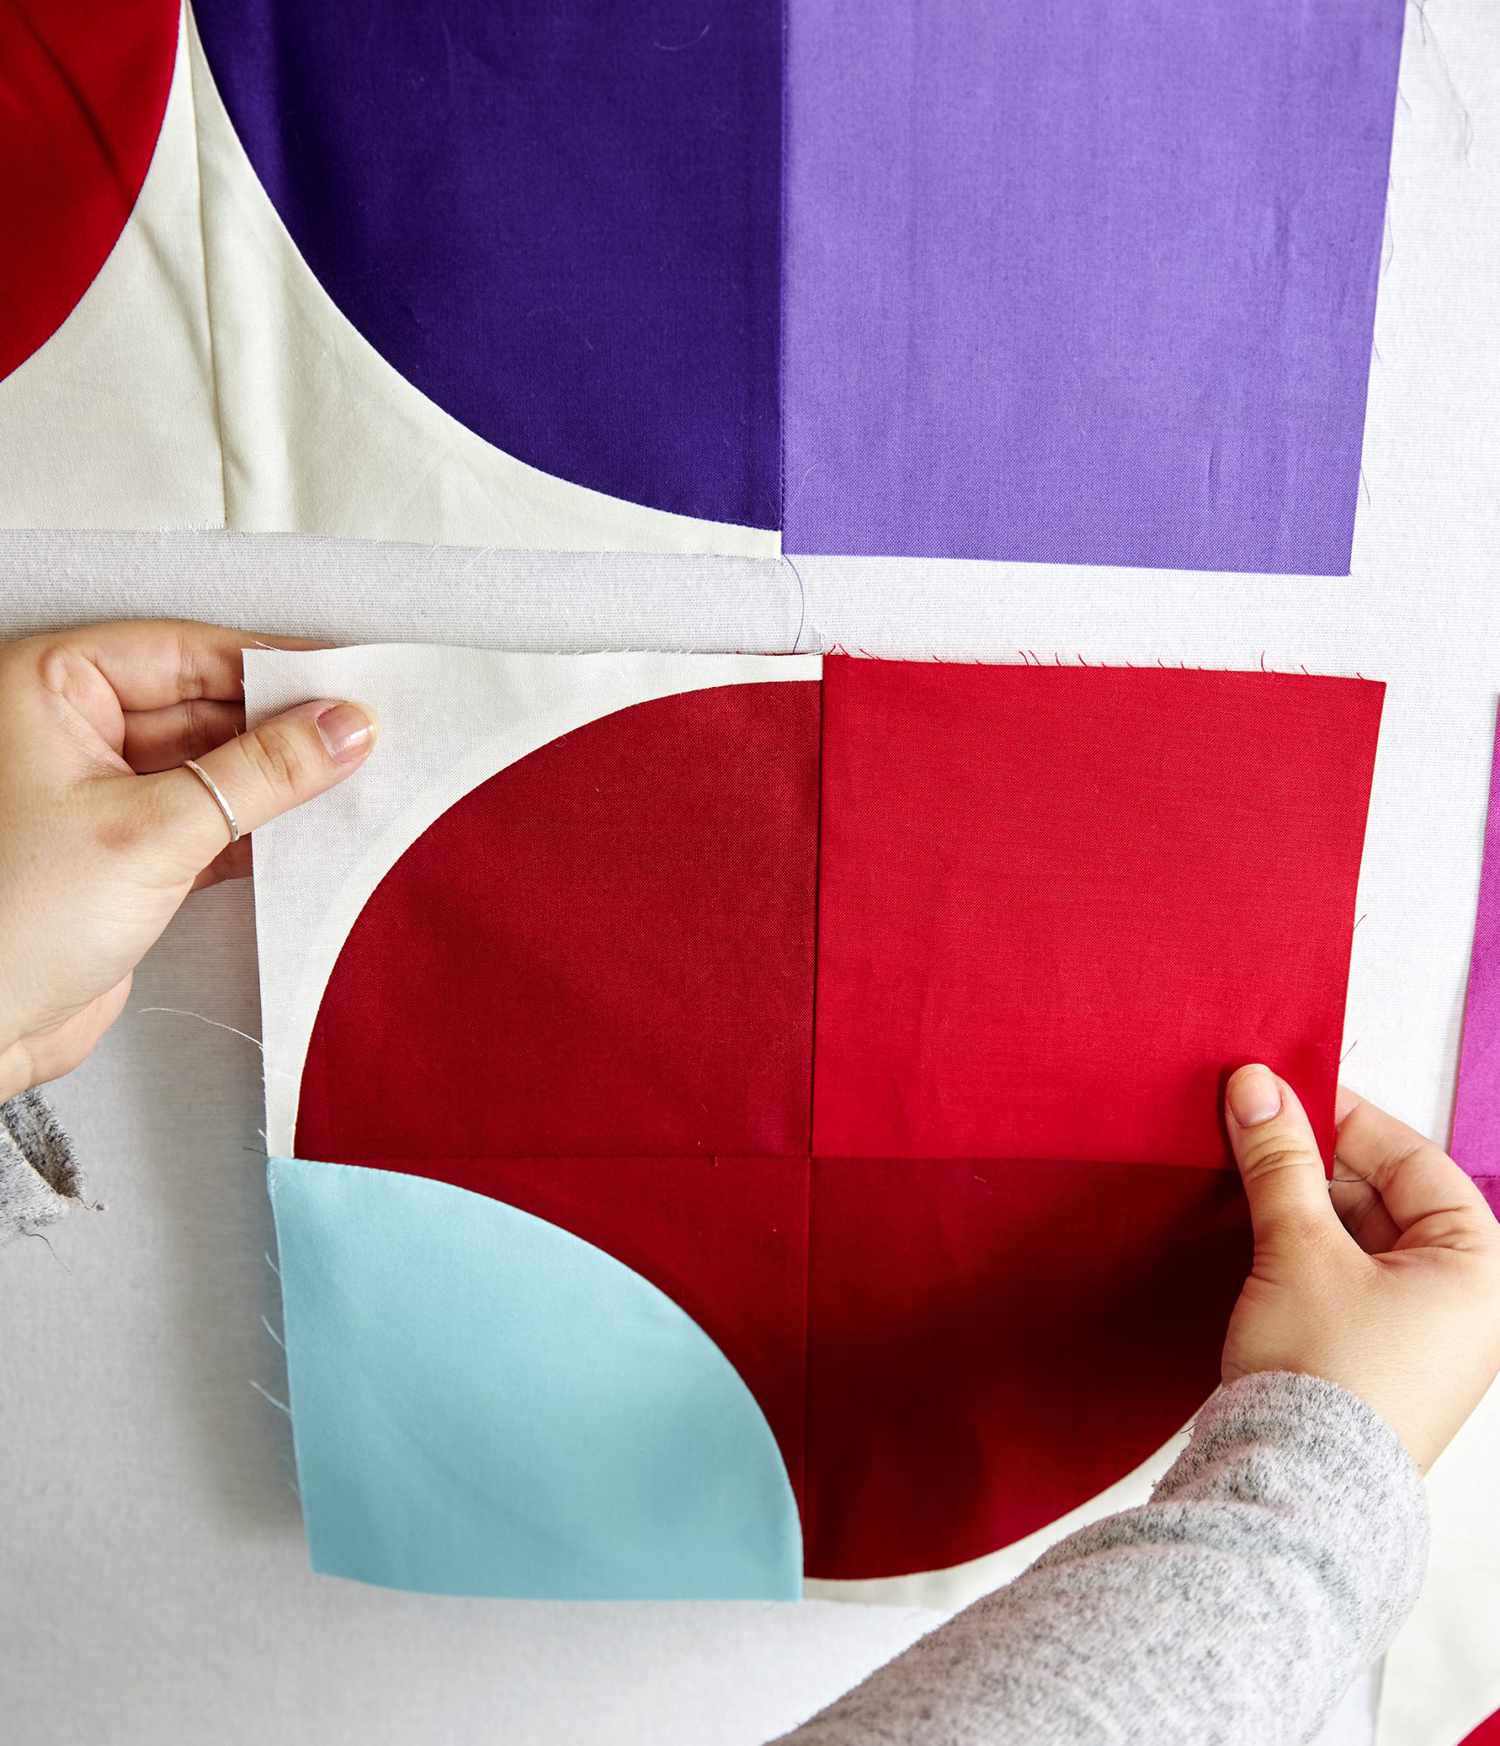
The second is orange. After this ditch quilting, you can secure the seam lines between the boundaries and facility of the patchwork.These stitches are secured when the binding is sewn to the patchwork. Check Your Job ... these initial maintaining stitches are full. Exactly how does your equipment quilting look? Exist any kind of tucks where the sewing crosses? Tucks on the back are an indicator the patchwork wasn't pin basted properly. Either not nearly enough pins were utilized or the support was not tight enough during the basting.
If this will trouble you, this is the time to rip out your sewing as well as re-baste your patchwork top before there are too several troubles. Finish the Ditch Quilting In the adhering to illustrations, quilting lines received black were stitched in previous actions. As soon as the anchor quilting is total, return to the the very first line of quilting.
Quilt all of these seams in the same instructions. Connect off both ends of the quilting lines when they begin within the body of the patchwork.
3 Easy Facts About Basics Of Quilting Explained
Again, by working to the right, at most half of your patchwork is under the needle at any kind of one time. Next turn the patchwork 90 levels, and ditch quilt the joint lines, working out from the.For angled collections like Numbers 2 & 3, follow this same pattern of quilting. Exactly How to Device Quilt the Border If you have actually adhered to the instructions, the seams in between the boundaries as well as facility are already stitched.
Yet it is YOUR quilt. How you choose to equipment patchwork it is YOUR selection. If you quilt the boundary in a constant line, make sure at the corners. Stop with your needle down in the extremely corner. Re-adjust the quilt. Make certain everything lays cool as well as level to stay clear of tucks.
Some quilters include a line of sewing within a 1/4" of the quilt's edge so they can get rid of the safety pins at the side early on. Simply like our rail fence quilt pattern, for many beginning quilts, as soon as this anchor quilting is done, the patchwork IS quilted.
The Buzz on Basics Of Quilting
Only ditch quilting is needed. Complete any additional quilting in the following order: Any type of stitching with a strolling foot. These are the attractive designs you include to a patchwork.This article was published from Generations-Quilt-Patterns. com Print Short article Comply with United States.
Who's Lately Taken This Course Meet other Creativebug crafters who have recently taken this course.
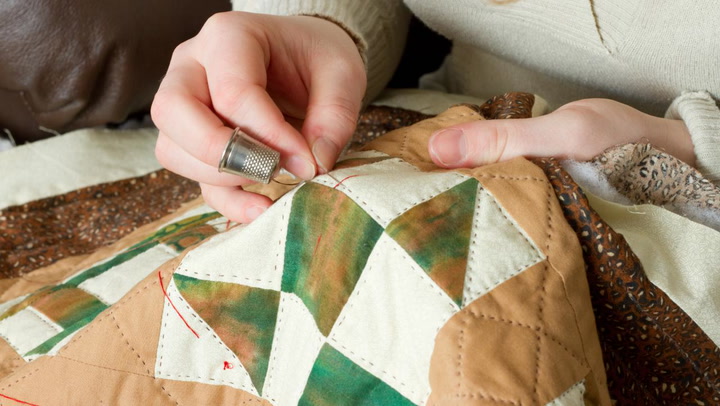
The excellent knot allows enough so that the thread won't draw right with, so generally you require a slightly larger one than an easy, single knot. The brief video clip shows just how to tie an ideal knot: Hold the needle in your right-hand man, as well as with your left hand, hold near the "tail" of the string (turn around all this for left handers).
The Best Guide To Basics Of Quilting
With the left hand, wind the thread a number of times around the needle. Move this coil of thread down the needle up until it also can be grasped by the best finger and also thumb. Holding this coil versus the original site needle with the right-hand man, draw the needle through using the left hand.Standing out the Knot Unless your material is fairly loosely woven, it can be challenging to get the knot to draw with the surface area material without damaging it. This short video demonstrates "standing out the knot": Standing out the knot right into the wadding layer at the beginning of a line of hand quilting.
Simply try to work out into the rhythm as well as your stitches will gradually boost. Go for even stitches, instead of tiny it will certainly look much check that better. Traveling When you get to the end of the initial line, you will probably have plenty of string left on your needle, so there is no demand to fasten off.
What Does Basics Of Quilting Mean?
Simply put the needle through the top textile only, and also appear at the following beginning point. Traveling to the next beginning point. On the quilt above, I might have improved, and also brought on sewing, however this would certainly have left component of the line unstitched. Plan your quilting to sew constant lines anywhere possible, with the fastest possible "travels".If so, bring up the suggestion of the needle at the half method point, however only pull up component of the needle. Swivel round the eye end beneath the material, and also then push on the pointed end of the needle (using a thimble!) to ensure visit this site right here that the eye end appears at the desired setting.
Report this wiki page